
A parent or carer is a contact of their own in Soniq Studio. You link them to the student as a connection. A connection can also receive the student’s invoices. For the full list of contact and relationship types, see Contact and relationship types.
Add a student
- Select Add Student on the Dashboard or the Contacts page. You can also press A, then S.
- Enter the student’s name in Name (or nickname).
- Enter the student’s Email, if they have one. Leave it empty for a young child.
- Choose a Lesson price.
- Select Add Student.
Soniq Studio sends no email when you add a student.
Without a lesson price, you cannot invoice the student. You can set one later in the Details section of the student’s page.
Link a parent or carer while you add the student
Do these steps before you select Add Student.
- Select Add under Connections.
- Open Choose or create a contact.
- Choose the parent from the list. If they are new, choose Create a new contact, then enter their Name and Email.
- Choose a Relationship: Parent, Carer or Other.
- Tick Send invoices to this contact if this person pays.
- Select Add Student.
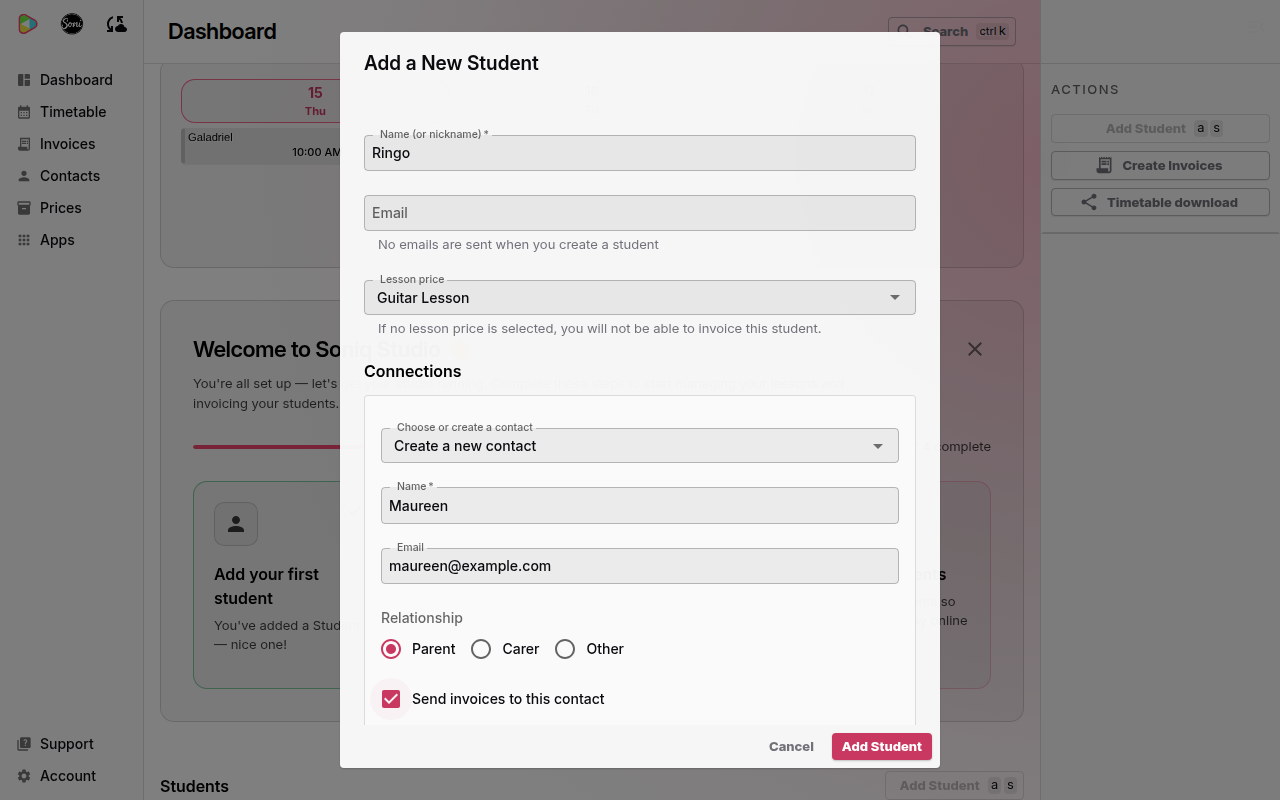
Soni adds Ringo with no email address of his own. His mum, Maureen, gets the invoices.
Link a parent or carer to an existing student
- Select Contacts in the sidebar.
- Select the student.
- Select the pencil button next to Connections.
- Select Add.
- Choose or create the contact, then choose a Relationship.
- Tick Send invoices to this contact if this person pays.
- Select Save.
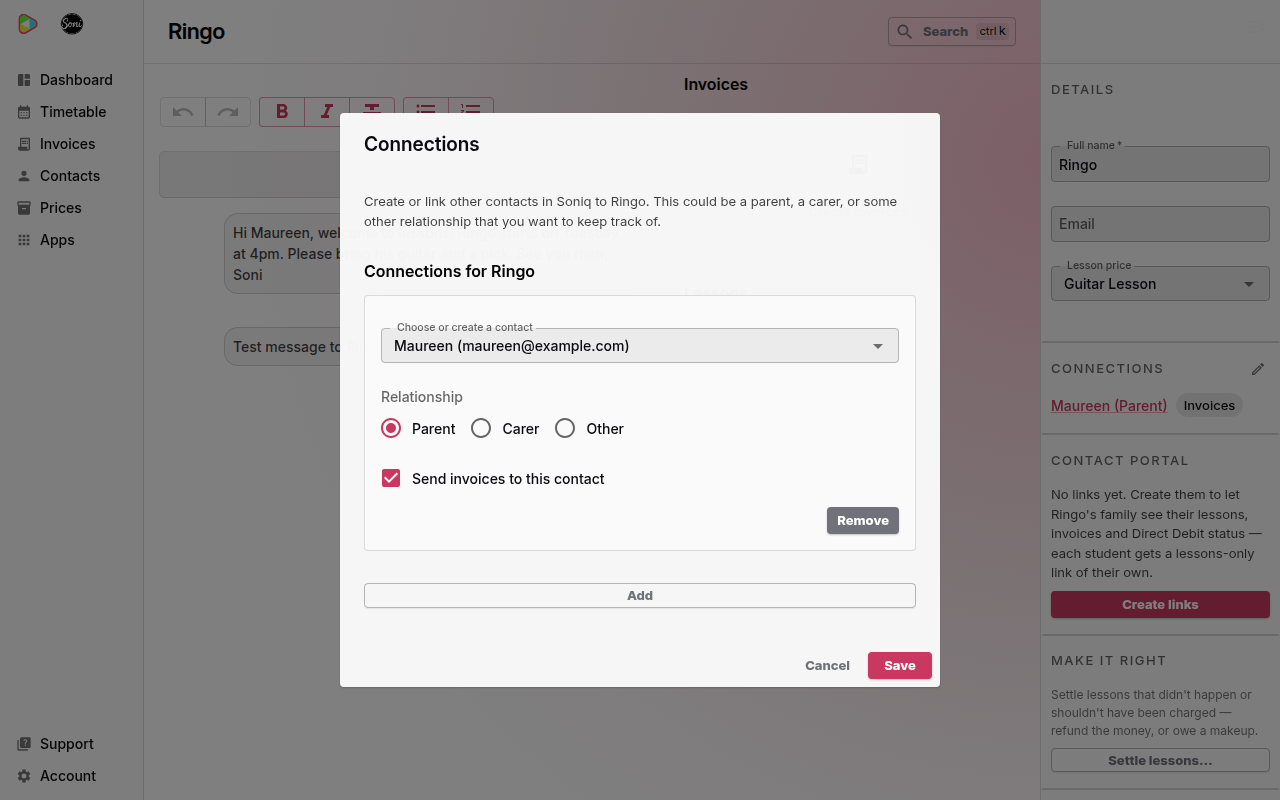
To link one parent to two siblings, choose the same parent from the list on each student’s page.
Check the link
The Connections section on the student’s page lists each connection. The contact who receives the invoices has an Invoices label.
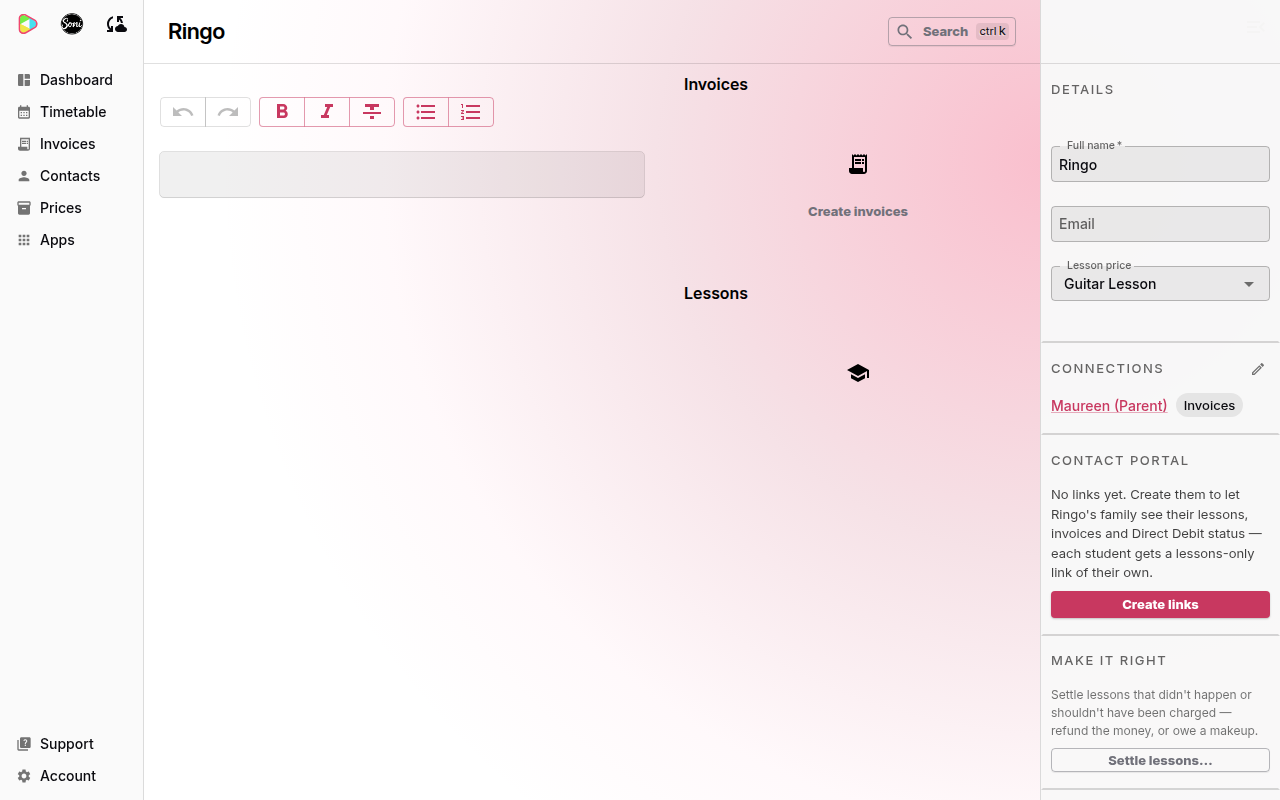
On the parent’s own page, the connection reads Parent of Ringo.
Only one connection can receive a student’s invoices. Ticking Send invoices to this contact on one connection clears it on the others.